Native App User Guide
Step-by-step walkthrough of writing and managing a multi-boot USB drive with the native cross-platform app. See that page for the high-level pitch; this page is the how-to.
Screenshots below are generated automatically by
native/e2e/walkthrough.sh— a virtual X server drives the real app and captures its actual rendered output, the same "regenerate on change" approach the browser ISO Builder's walkthrough uses. If the app changes, rerun it and commit the refreshed images.
1. Install
Grab the build for your platform from the tuna-os/iso-builder releases page:
- Linux: a plain binary. Needs a
tackleboxbinary reachable onPATH, or placed next to the app. - macOS:
TunaOS ISO Builder.app. Unsigned for now — right-click → Open the first time to get past Gatekeeper (see the note on signing). - Windows:
tacklebox-app.exe. Unsigned for now — click More info → Run anyway on the SmartScreen prompt.
The app doesn't assume anything else is pre-installed. If it needs WSL2 (Windows) or QEMU (macOS) and doesn't find them, it'll say so and offer to install them for you — see Prerequisite prompts below.
2. Choose an OS
Open the app. The 1. Choose an OS list shows a real card per entry — logo, name, and a short description — starting with TunaOS's own curated variants across every desktop TunaOS ships (the same set the browser ISO Builder offers):
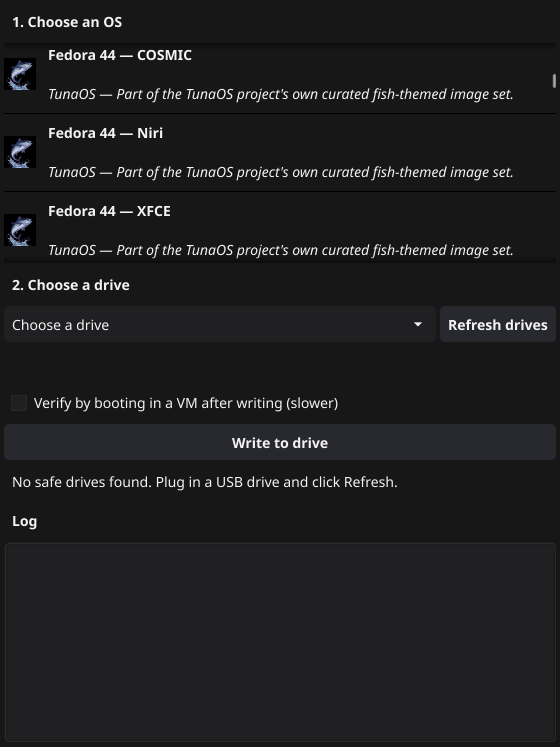
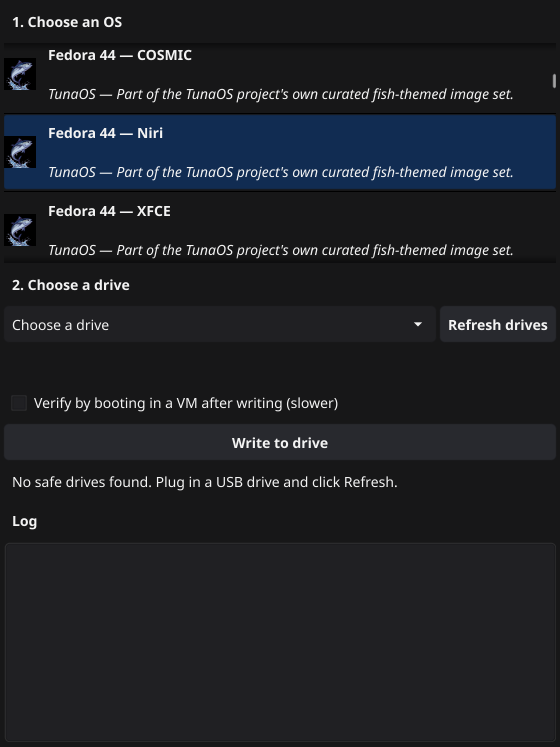
Click a card to select it — it highlights to confirm your choice:
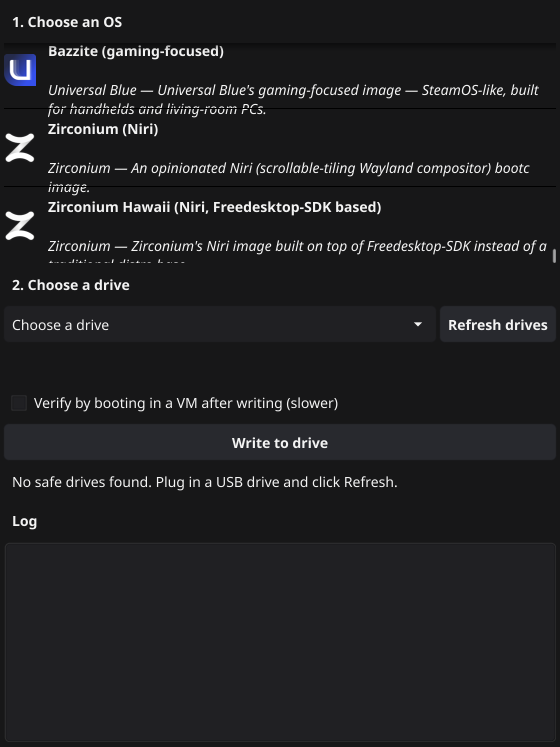
Scroll further and the catalog isn't TunaOS-only: it also curates real images from a few other bootc/ublue-style projects — Project Bluefin, Universal Blue (Aurora, Bazzite, Bluefin DX), and Zirconium — each with that project's own real logo, not a generic placeholder:
Every image reference in the catalog is checked live against the
publishing project's actual container registry before being added —
see native/catalog.go
for exactly which tags were verified and when.
3. Choose a drive
Plug in the USB drive you want to use, then click Refresh drives if
it doesn't show up automatically. The dropdown only ever lists drives
the app's safety filter considers genuinely safe to write to — internal
disks, mounted system volumes, and anything that isn't removable media
are excluded before they can even be selected. (On Linux this is real
lsblk output filtered in Go, unit-tested against real-hardware
fixtures — same approach on macOS via diskutil/DiskArbitration and
Windows via Win32_DiskDrive.)
Selecting a drive tells you immediately what the app is about to do:
- Blank or unrecognized drive — "Blank drive — writing will erase everything on it." The button reads Write to drive, and clicking it asks for an explicit confirmation before erasing anything.
- Already has TunaOS on it — the app runs a quick status check and, if it finds an existing managed drive, shows what's installed. The button switches to Add to drive, and no destructive confirmation is needed — adding an environment to a drive you're already managing isn't the same risk as erasing a stranger's disk.
4. (Optional) Verify by booting
Linux only, for now. Tick Verify by booting in a VM after writing before you write or update, and once the operation finishes the app boots the drive in a throwaway QEMU VM and watches its serial console for a real sign of life (a login prompt, a systemd unit finishing cleanly) before calling the operation done. If the VM hits a kernel panic or never gets there, you'll see that instead of a false "success."
This costs real time — a full VM boot, on top of the write itself — so it's opt-in rather than the default.
4b. (macOS only) View the VM console while it's running
macOS's write path boots a headless helper VM — there's no window for it by default, only streamed log lines. If something goes wrong in a way that doesn't come through cleanly as SSH output (a kernel panic, a hung boot, cloud-init failing silently), click View VM console (debug) while an operation is in progress to open the VM's actual screen in your browser:
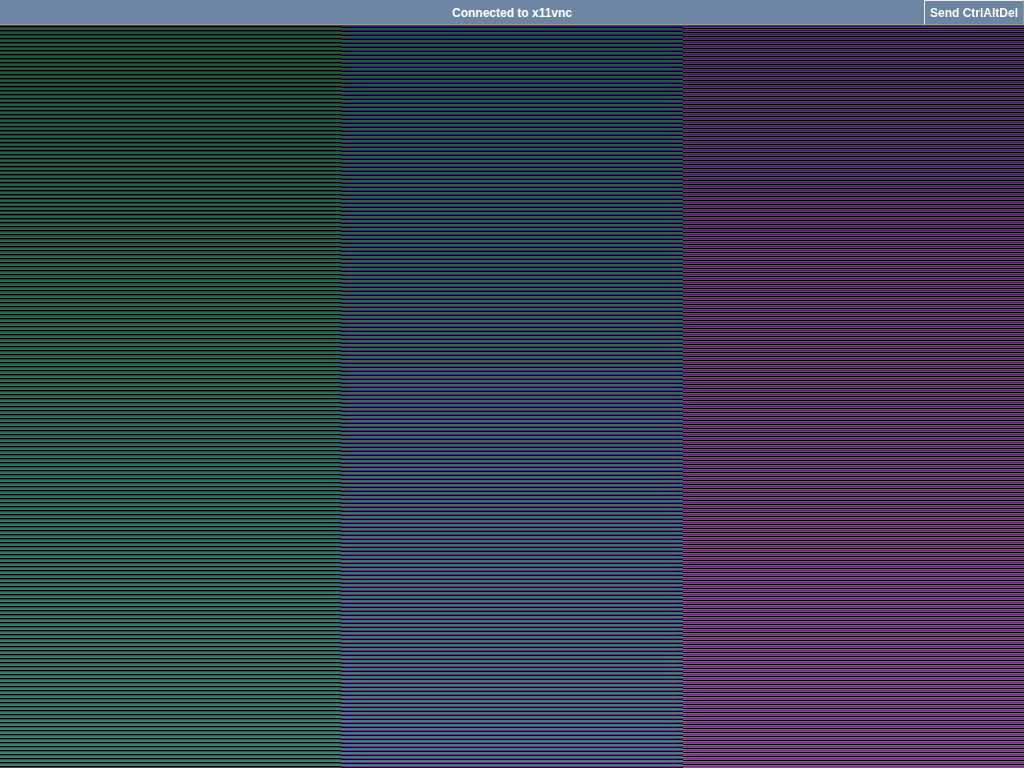
This screenshot shows the real viewer — the same
native/vncviewer
code the app ships, genuinely connected end-to-end (WebSocket → Go
proxy → VNC) — pointed at a demo pattern for illustration rather than
a live write, so the "Connected to x11vnc" status bar and rendered
gradient are real, not mocked up.
The button only works while a VM is actually running (start a write, verify, update, or remove first, then open the viewer); it isn't shown at all on Linux or Windows, where there's no VM in the write path to look at.
5. Write
Click Write to drive (or Add to drive). Progress streams into
the Log panel at the bottom as it happens — this is the actual
output of the underlying tacklebox run, not a synthetic progress bar.
6. Managing a drive you've already written
Plug the drive back in later (on any of the three platforms — the drive itself isn't tied to whichever machine wrote it) and select it. Since the app now recognizes it as managed, a Manage this drive panel appears with:
- Verify — sanity-checks the drive's integrity (
tacklebox verify) without touching anything. - Update — re-installs the currently-selected OS on the drive in place, refreshing it to match the current image. Existing environments you don't touch are left alone.
- Remove — type the environment's id (shown in the Verify/status output above the log) and confirm to remove it, reclaiming its space. Tacklebox refuses to remove the last environment on a drive rather than leave you with unbootable media, and the app surfaces that refusal rather than hiding it.
macOS and Windows show the same panel and support the same operations —
checking a drive's status there costs roughly the same VM-boot/WSL2-attach
price as writing to it, since there's no cached tacklebox binary
sitting on the drive itself yet. That's a real, undisguised tradeoff on
those two platforms, not a bug.
Prerequisite prompts
If an operation needs something the app can't find — WSL2 or usbipd-win on Windows, QEMU on macOS — you'll see a dialog explaining what's missing and why, with a button to fix it automatically rather than a dead-end error message and a link to go figure it out yourself. Some fixes (enabling WSL2's underlying Windows features) require one reboot before they take effect; the app tells you when that's the case rather than silently failing again on retry.
Troubleshooting
- "No safe drives found" even though a USB stick is plugged in: click Refresh drives. If it still doesn't appear, the safety filter may be correctly excluding it (e.g. it's reporting itself as a fixed/internal disk over USB, which some enclosures do) — this is the filter working as intended, not a bug to route around.
- Windows: WSL2 install says it needs a restart — this is expected the first time on a machine that's never had WSL2 enabled. Restart, then retry the operation; it'll pick up from there.
- macOS: first write is slow — the helper VM's base image downloads once and is cached after that; the first run pays that cost, later runs don't.